How to use Apple Invite to plan an event.
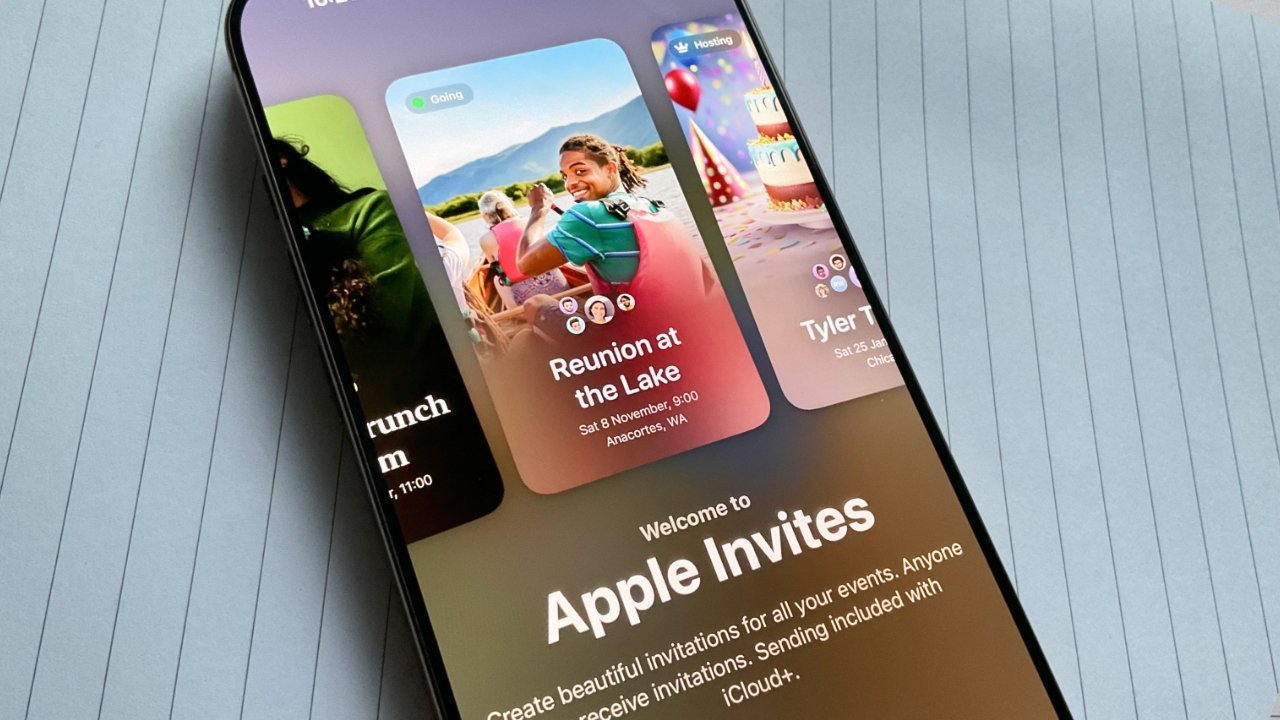
“Invites,” a new software from Apple, lets users create event invites straight from their iPhone or web browser. It’s free to download and RSVP for without an Apple account.
You must have an iCloud+ membership in order to create invitations; these may be purchased separately for $0.99 per month or included in Apple’s premium Apple One plans. It offers Private Relay capabilities, additional storage, and a personalized email domain.
What is it?
Apple Invites is the company’s attempt to offer an event planning and invitation creation service like to Partiful or Evite. The app lets you host parties and send out RSVPs, and it integrates with other Apple services like shared albums from Apple Photos and collaborative playlists from Apple Music. Invites now allow Picture Playground if you would rather use AI to create a picture for your invitation rather than relying on one of your own photos or Apple’s pre-selected options.

How do I create an invitation for an event using Apple Invites?
To create an event invitation using Apple Invites, you need to go to the iCloud website or have the Invites app installed on an iPhone running iOS 18 or later. Additionally, to take use of Invites’ integration with Apple Intelligence, you must have an iPhone that supports the capability, such as an iPhone 15 Pro or later.
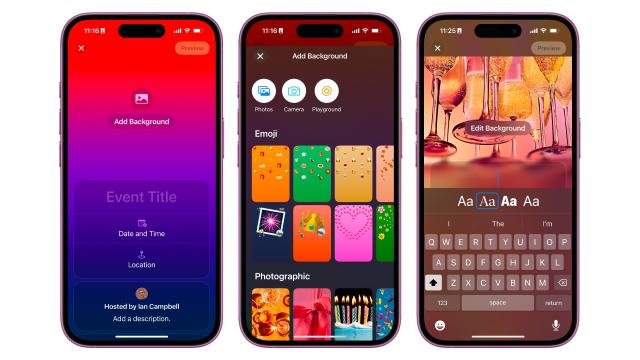
Create your event after using the Apple Invites app. Then, if you have never used the app before, click “Create an Event.” If you have already made or received invitations to events, click the small “+” in the top right corner of your screen. The invite screen should then be blank.
To create an Image Playground, a new photo, or a picture from your photo library, tap one of the circular buttons at the top of the screen. Alternatively, tap “Add Background” and select one of Apple’s pre-made backgrounds (emoji, photographic, and colour options).
Choose from four font options after selecting “Event Title” to title an event. Decide on the time and date, pick the venue, and include a description. Select a different host name if you’d like. For added flair, Apple also provides four font choices.
To receive an invitation, you need to fill out those forms, but Invites also contains two more features that are exclusive to Apple software. During and after the event, guests can tap on “Create Album” to view and contribute to a shared photo album you create. The album name will be used as the event name, but you can enter an alternative name under Album Name and click “Done” to save your changes.
Tap “Preview” in the upper right corner to see a preview of your invitation to guests, and then click “Next” to start sending out invitations.
How to use Apple Invites to send out event invitations
As soon as your event invitation is created, you can start sending it out to your guests in a few different ways. You can send the invitation as a public link or send it to select people on your contact list. Press the “Invite Guests” button to start sending your invitation.
You can send an invitation by copying it to your clipboard, sharing it via any app on your iOS share sheet, or tapping on the Messages or Mail icons.
By choosing “Choose a Guest” and sharing it via Messages, Mail, or the iOS share sheet, you may use Apple invitations to send each guest a special one-time link.

How to write a letter to attendees of an event that uses Apple Invites
Tap “Send a Note” in the invitation to send a note using the Apple Invites app to inform visitors of updates or event specifics.
How to remove an event from Apple Invites
If necessary, you can remove the event by first selecting it and then choosing the three-dot menu in the top right corner. After choosing “Event Settings” by scrolling down, choose “Delete Event.” Choose “Delete Event” to confirm erasing the event.


